Making do, and cushions, at home
We're slowly settling into a reasonable rhythm at home during the Level 4 lock-down. Two weeks in and we've been finding plenty to do around the house. It's been surprising to see how we've managed without our usual entertainment go-to things. We are definitely missing the regular trips to the library though. Thank goodness for digital borrowing! How's life at your place?
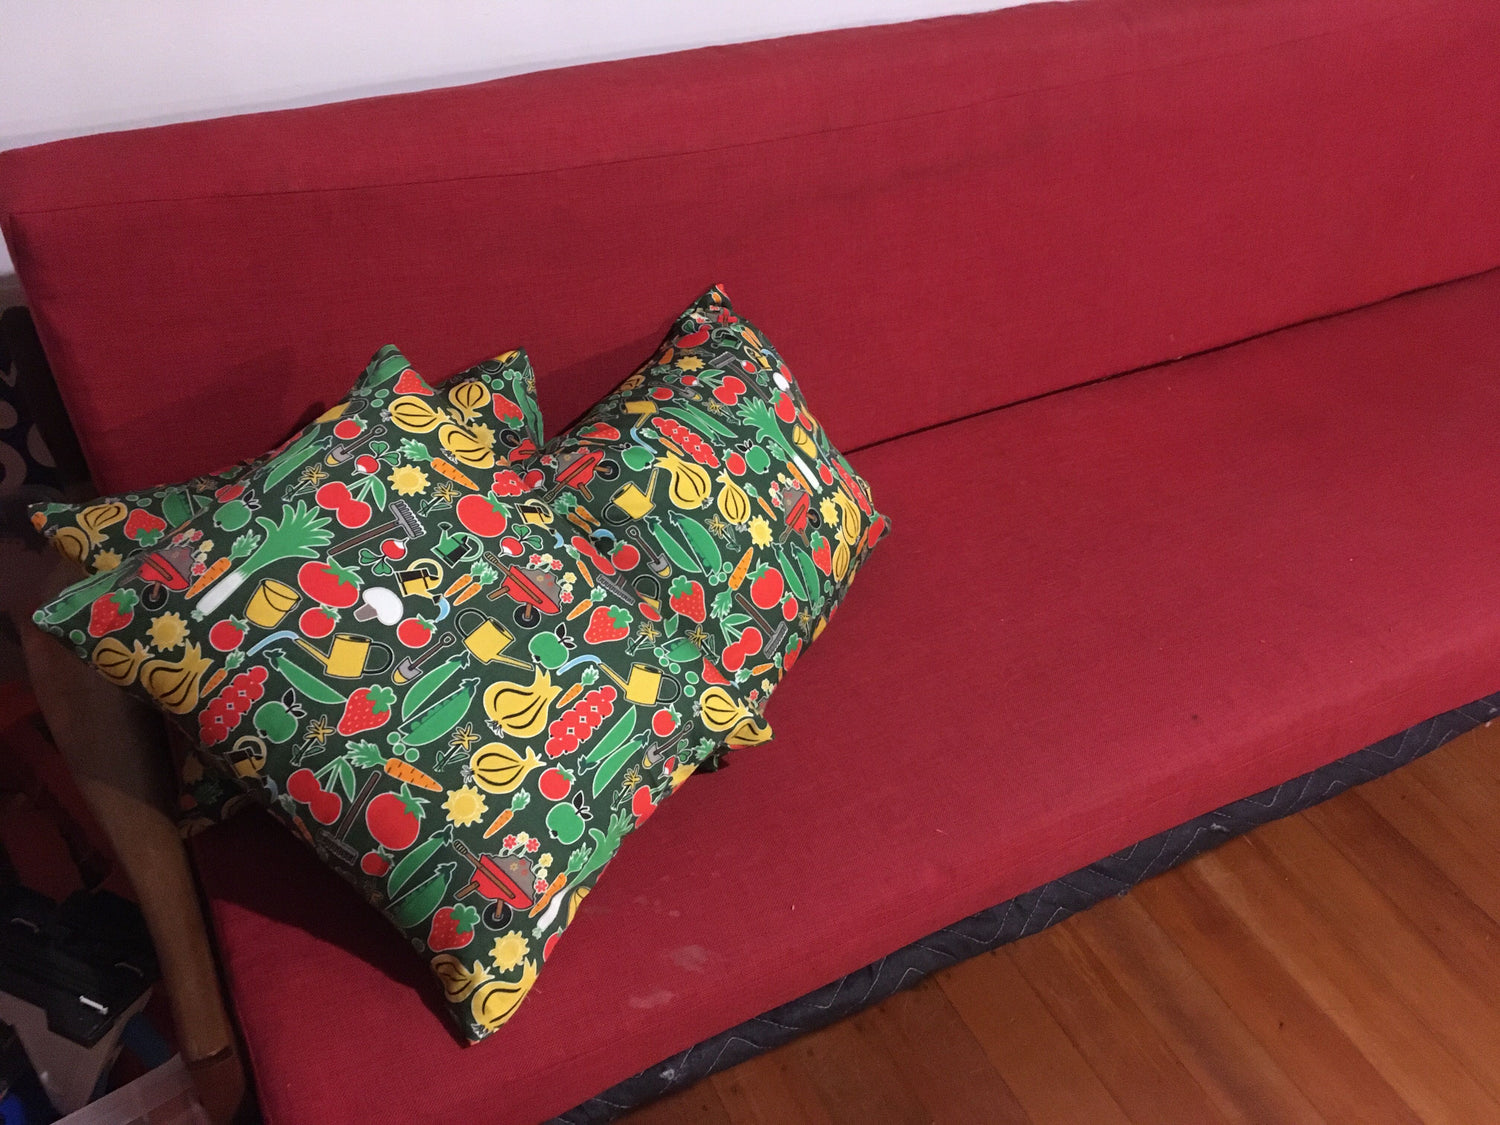
While tidying the lounge one night last week, I decided we needed new cushions for our couch. Turns out they're easy to whip up.
If there's one thing I really love to do, it's re-using things we already have. As I said, this lockdown has meant we've had to make do in a few ways already, and I like the resourcefulness it brings out in us. I've had a bunch of out-of-print DUNS vegetable woven cotton fabric stored at home for ages. It was from a incorrectly sized run of duvet covers, and I decided it would be perfect to use for some quick cushion covers.
I made a nifty type that wraps around the cushion, with no need for fastenings. Here's how I did it...
My materials were:
Fabric
Cushion inner/s (I used some old pillows I had been meaning to get rid of)
Scissors
Iron for pressing seams
Sewing thread
Sewing machine and overlocker (not essential at all, but good for finishing seams)
To draft a basic pattern, I began by measuring my cushion inner. I added some width and length to those measurements. I added 70mm to the width of my cushion inner (35mm for each side of the inner), and added 200mm in length.
I wasn't too phased about pattern matching as the print I used is busy and repeats well, but if you've got a patterned fabric that you want to feature, you might like to play around with where you cut so it shows the print features best.
I cut 2 pieces of my DUNS fabric according to my cushion inner measurements, 1 for each side.

Next I hemmed 2 of the ends (one of my chosen top ends, and one of my bottom ends). I folded and pressed the raw hem edge up 5mm on the wrong side, and then again another 1cm so the raw edges were enclosed. I stitched the hems along the 1cm fold and pressed them with the iron.


Next, I sewed the 2 un-hemmed ends together, right sides facing, to make one long length of fabric with hemmed edges at each end.

I turned up each hemmed end to make pocket flaps, like on a regular pillowcase. The flaps are approximately 180mm - 200mm long. One flap is pinned with right sides facing, and the other with wrong sides facing
Then with the cover folded right sides facing, I sewed the side seams catching the pinned flap at each end.


Once turned in the right way and pressed neatly, I've got a new cushion cover.

I put the cushion insert inside, then folded the inside flap over the top of the inner, folded the outside flap over the opening. Voila!


